How to Clean a Vaporizer?
Vaporizers are an ideal way to consume weed. These ensure that you make the most of your stash by producing vapors. Additionally, vaporizers give you a much better high when you compare them to smoking or eating weed.
However, keep in mind that a vaporizer should be cleaned on a regular basis. Why? Well, that’s what we shall explain in this blog. In addition to that, we shall also talk about the right way of cleaning the appliance to maximize its potential.
So, to know how when is the right time to clean your device along with a step-by-step maintenance guide, let’s dive further!

Why Should You Clean Your Vaporizer?
When the warm vapors condense, they come in contact with cooler elements of the vaporizer. This, in turn, creates a buildup of sticky residue. The buildup further clogs the airways of the vaporizer and decreases its performance over time. In short, lack of cleaning shortens the lifespan of a vaping device, no matter how expensive it is.
Additionally, do not ignore the health aspect of a dirty vaporizer, as it will provide you with dirty vapors. Cleaning the device eventually increases the quality of the vapors. Furthermore, if you are somebody who shares his/her vaporizer, it is super-essential to clean the mouthpiece so that the germs do not spread. To clean the mouthpiece, always carry a pack of cleaning wipes.
One of the most functional ways in which you can keep your vaporizer working properly is by using an already vaped bud (AVB). Start with filling the chamber with it. Next up, heat it and blow air into the vapor path from the other side. This will help you lose a significant amount of manufacturing residue that might cause a bad taste. While this particular method may not work for all portable appliances, it is highly recommended for new devices.
When is the Right Time to Clean a Vaporizer?
Initially, when you start using a vaporizer, the hits will be smooth and good to taste. However, with time, the residue will start getting accumulated and will eventually block the pathway. Apart from that, the quality of the vapors may change drastically.
Here are some of the signs that denote that your vaporizer needs to be cleaned.
- You notice resin buildup.
- The pathway seems blocked.
- The device doesn’t produce vapor efficiently.
- You are required to take harder pulls.
Most people have this misconception that cleaning a vaporizer is a time-consuming and daunting task. However, it doesn’t always have to be this way. If you are not a regular user, your device should be cleaned at least once a month. However, for somebody who uses a vaporizer quite often, we advise you to clean your appliance once every week.
Keeping your vaporizer clean will enhance its performance and will ensure that you get zero resin buildup.
Cleaning a Vaporizer the Correct Way
There are several different devices in the market, and each one of them is built differently. In addition to that, their cleaning instructions are also different and intricate. Ideally, you should clean your vaporizer as soon as you notice resin buildup.
Here are all the things that will assist you in cleaning your vaporizer.
- Paper towel
- Isopropyl alcohol
- Zip-lock bag/Tupperware
- Cleaning wipes
- Pipe cleaners
- Cotton swab
- Soft-bristled toothbrush
Now let’s take a look at the step-by-step guide on how to clean the vaporizer the correct way.
1. Place all parts of a vaporizer in a zip-lock bag or a Tupperware.
2. Now, add alcohol and close the bag or box. Shake it well. This will help you remove residue and buildup.
Pro Tip: Additionally, you can soak the parts overnight if the grime is stubborn. Wash the vaporizer with water and let it dry.
3. Soak the pipe cleaner in alcohol and clean the airway.
4. To clean the chambers, use cotton swabs soaked in alcohol.
5. You can use a soft-bristled toothbrush to clear up stubborn grime as well.
By cleaning your vaporizer, you will be able to save a considerable amount of money and double the lifespan of your device! Now that’s some advice you could use.
After your vaporizer is clean and dry, switch on the device without putting anything inside the chamber. The temperature setting should be low, and the device should be kept running for a couple of minutes. This way, you’ll be able to get rid of the excess alcohol or water. Also, keep in mind that isopropyl shouldn’t be used on every part.
Related Products:
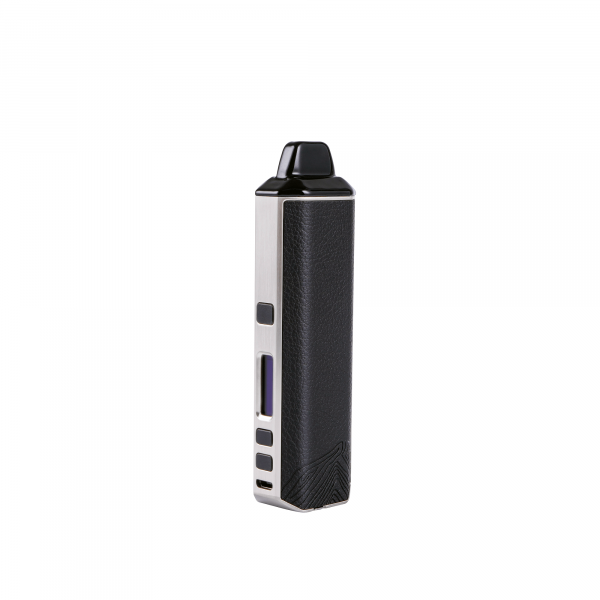
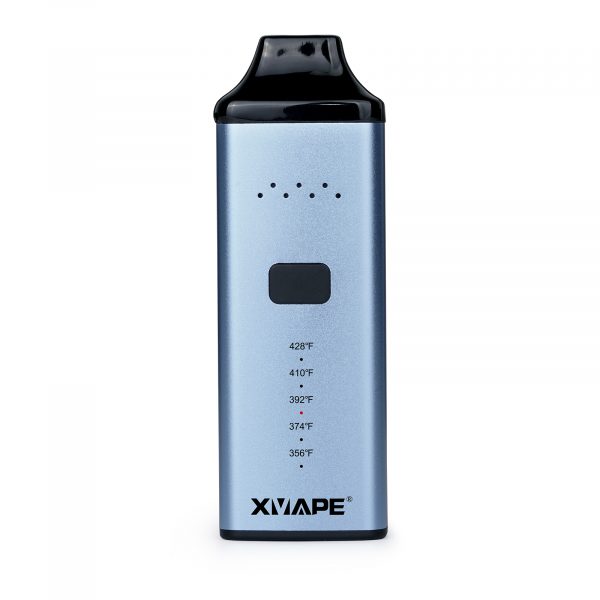
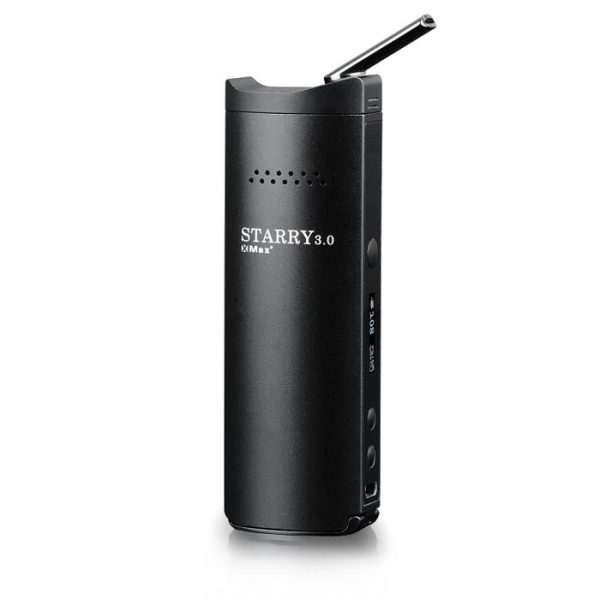
| XVAPE ARIA | XVAPE AVANT | XVAPE XMAX STARRY 3.0 |
 |
 |
 |
Check out Registration Form over here – https://xvapeusa.com/registration-form/
